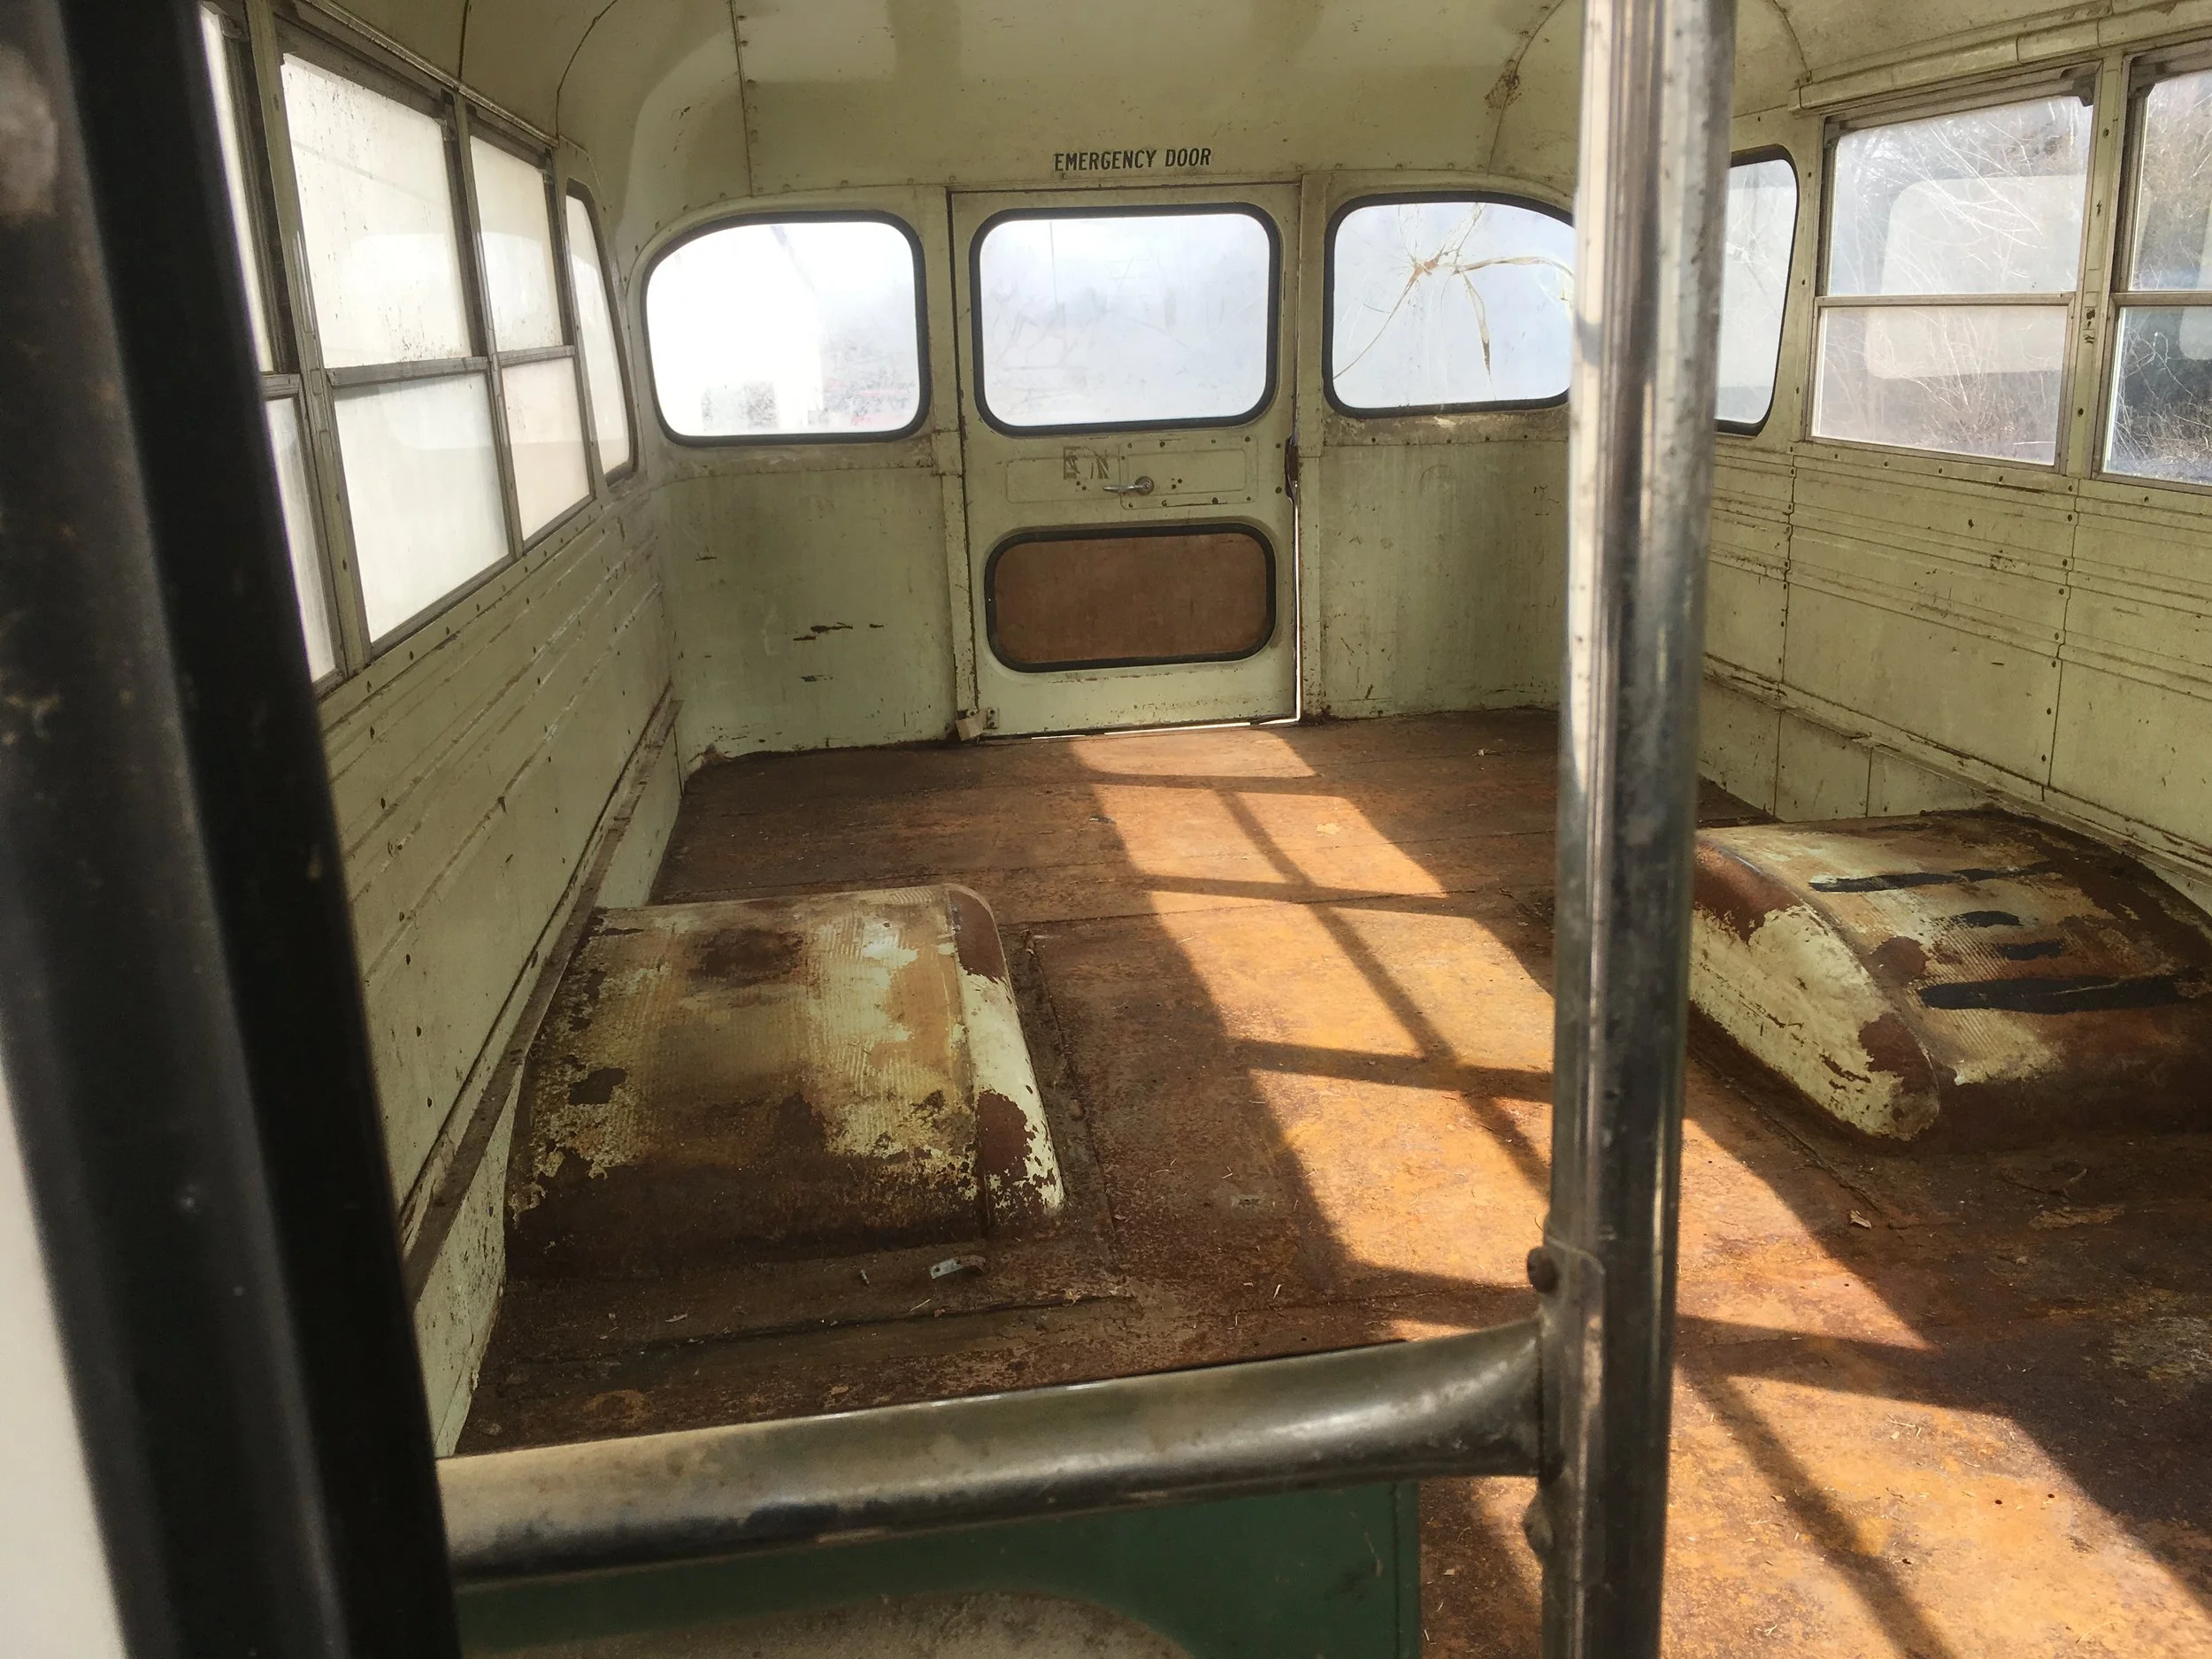
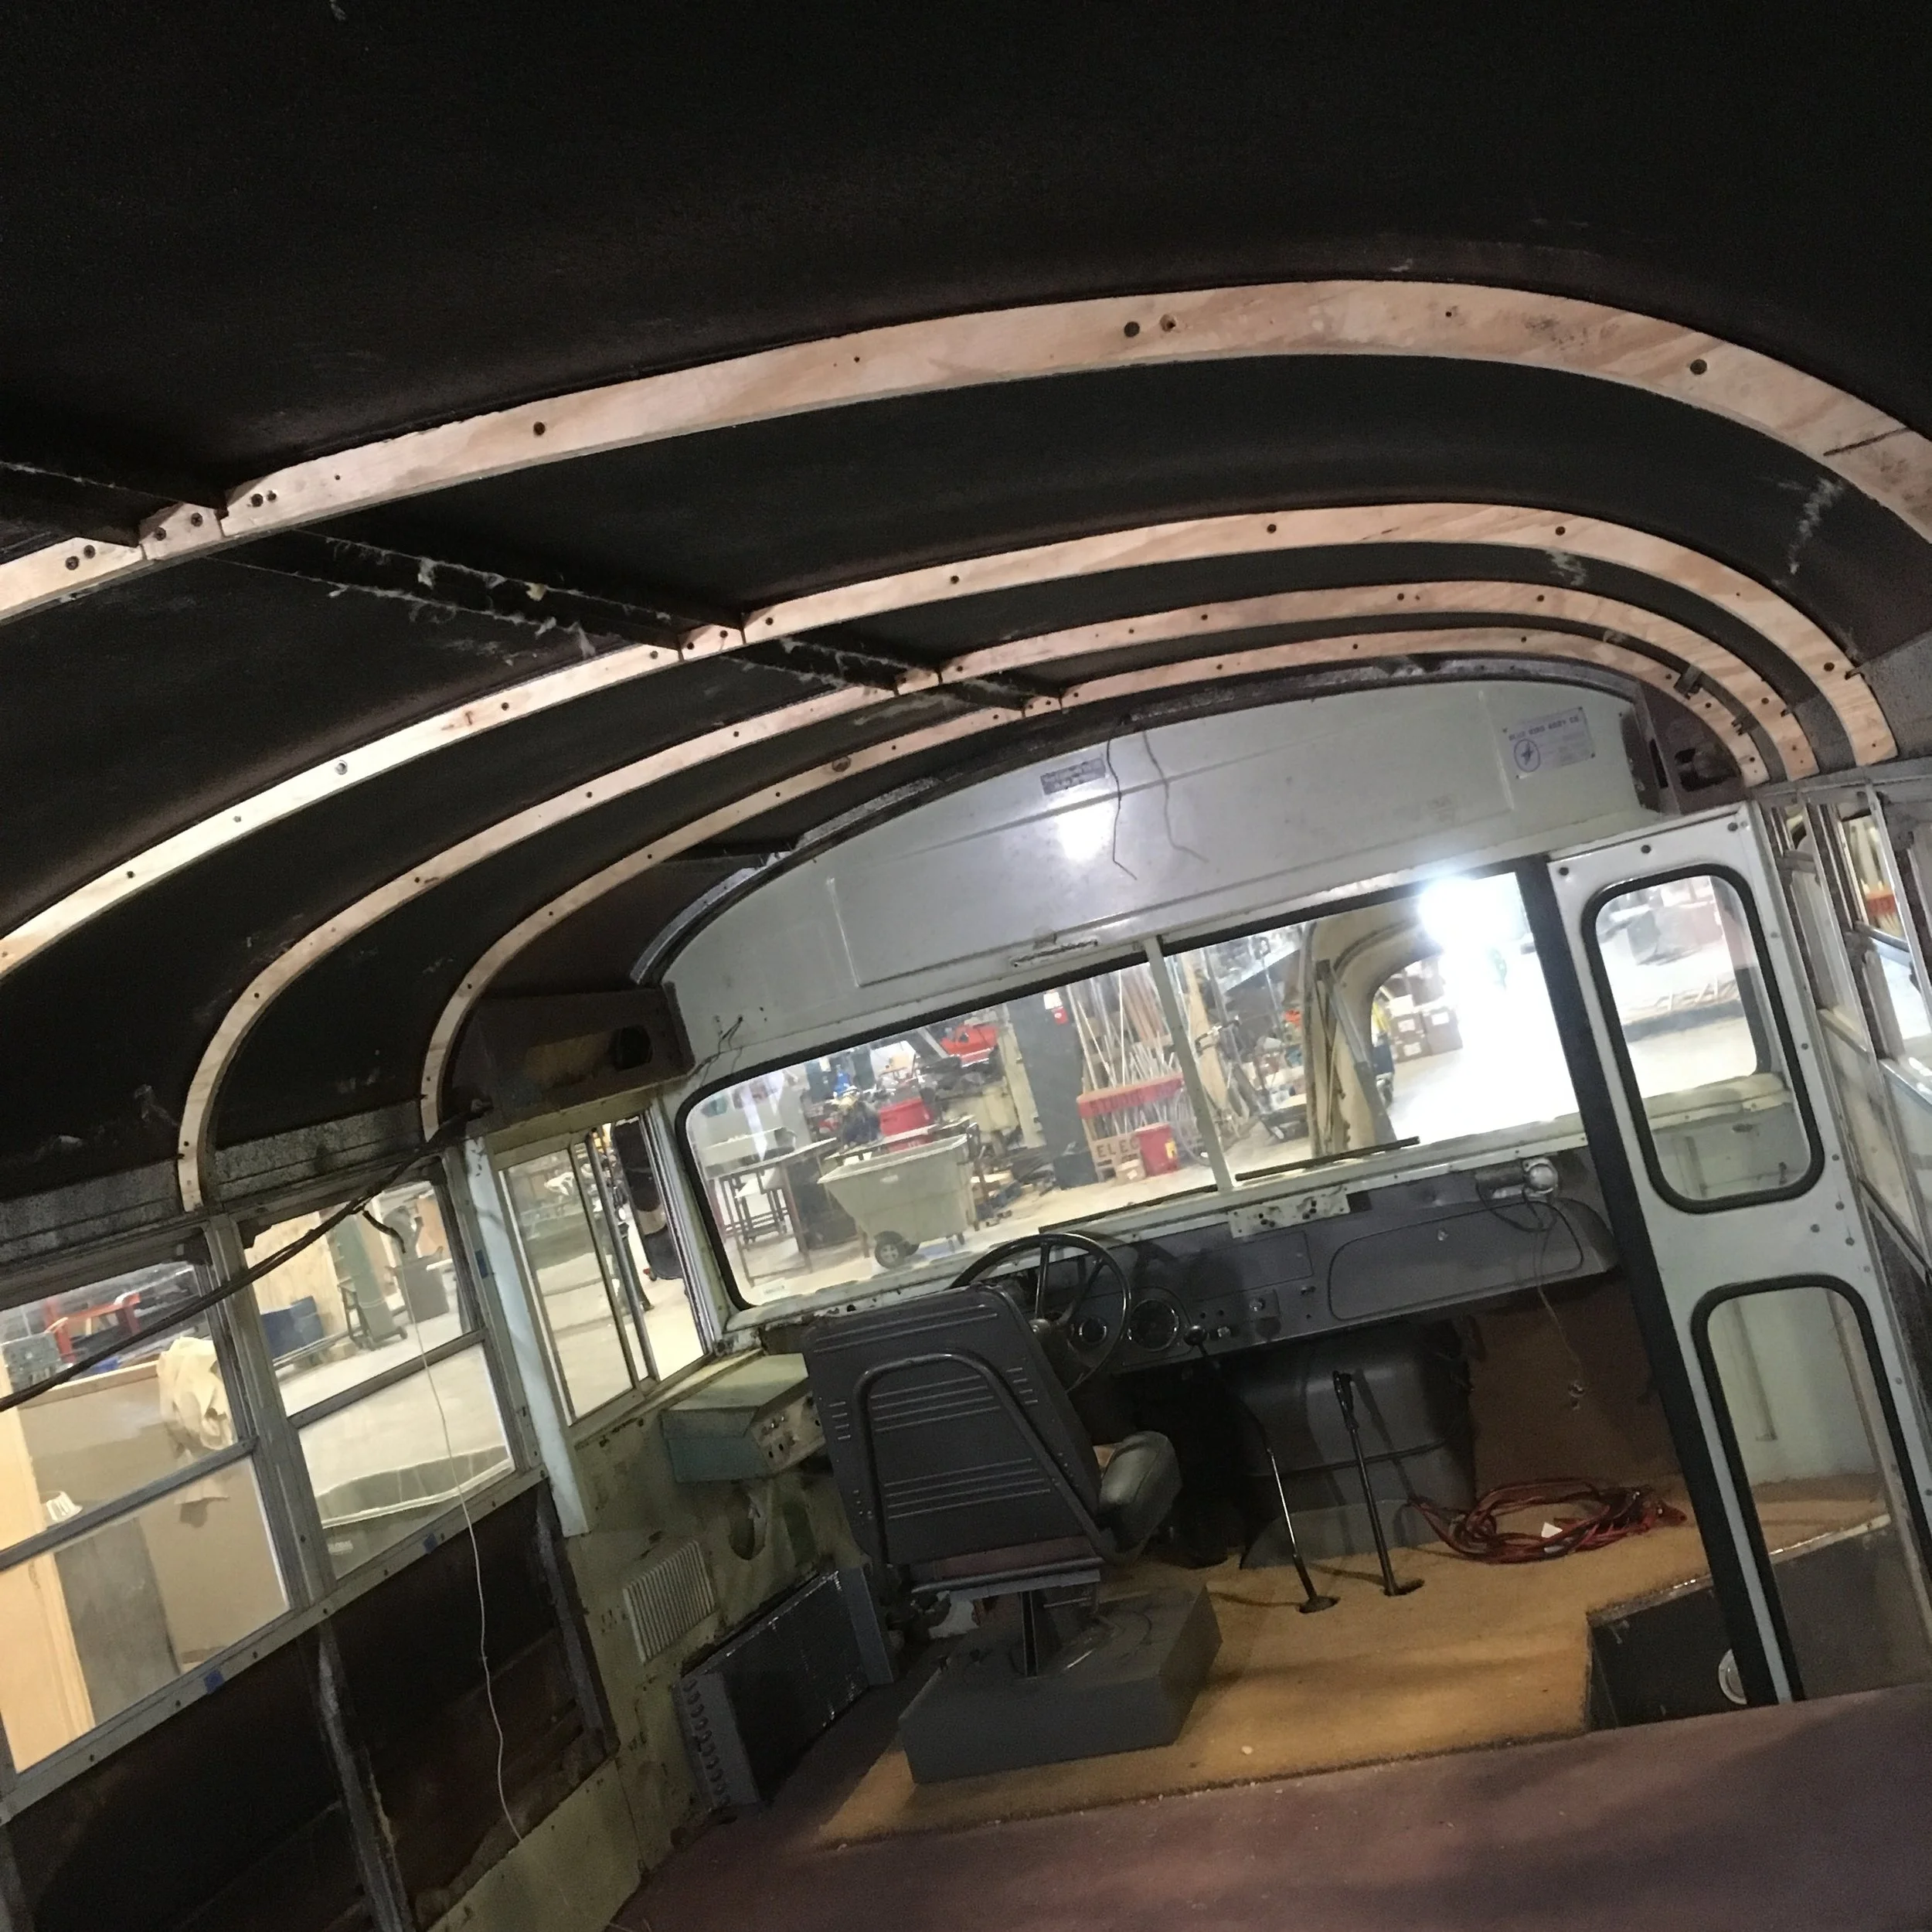
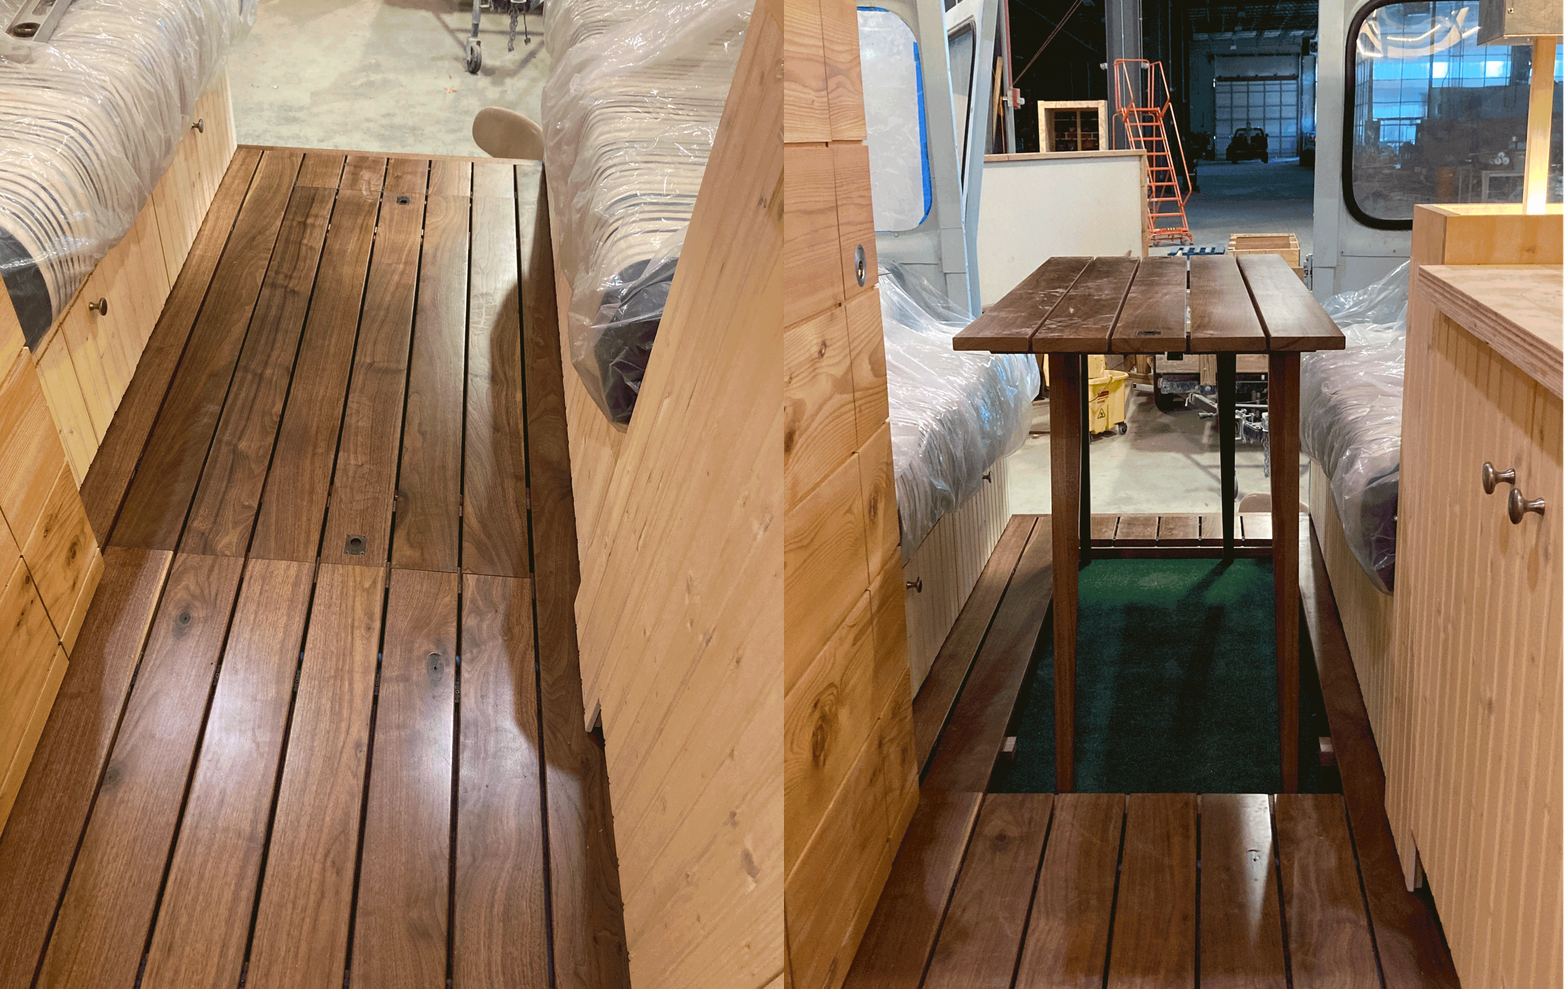
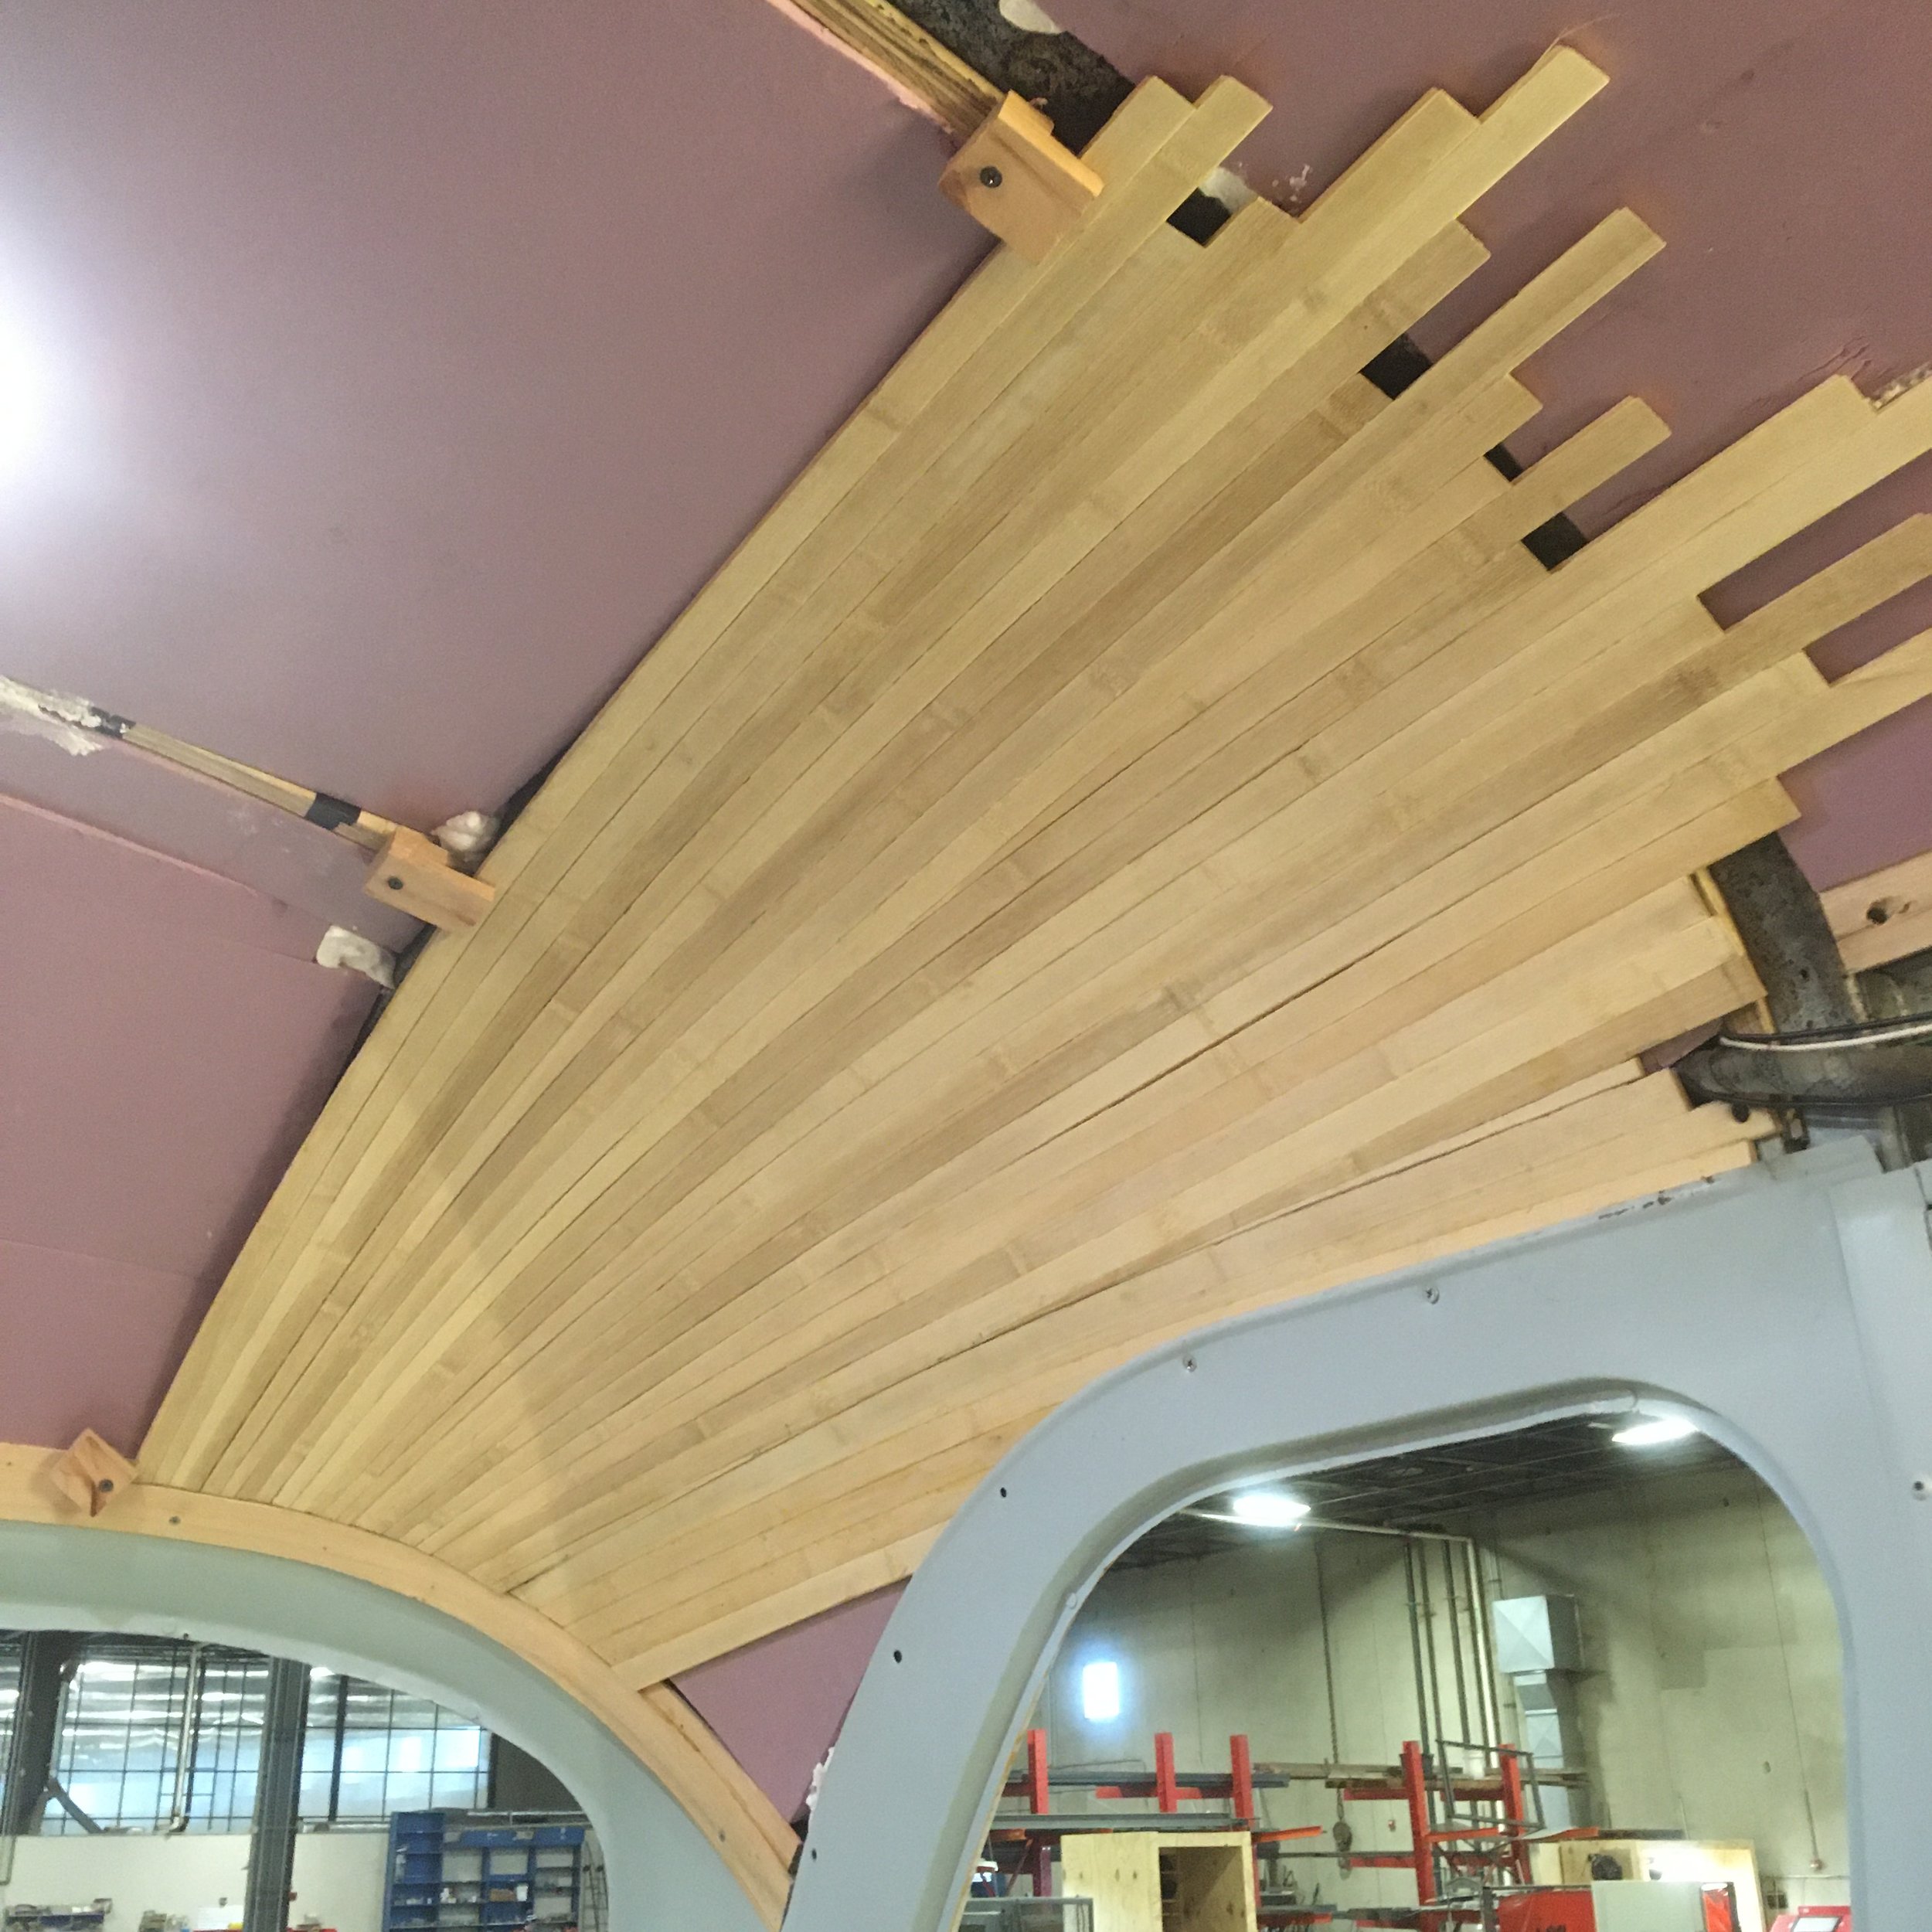
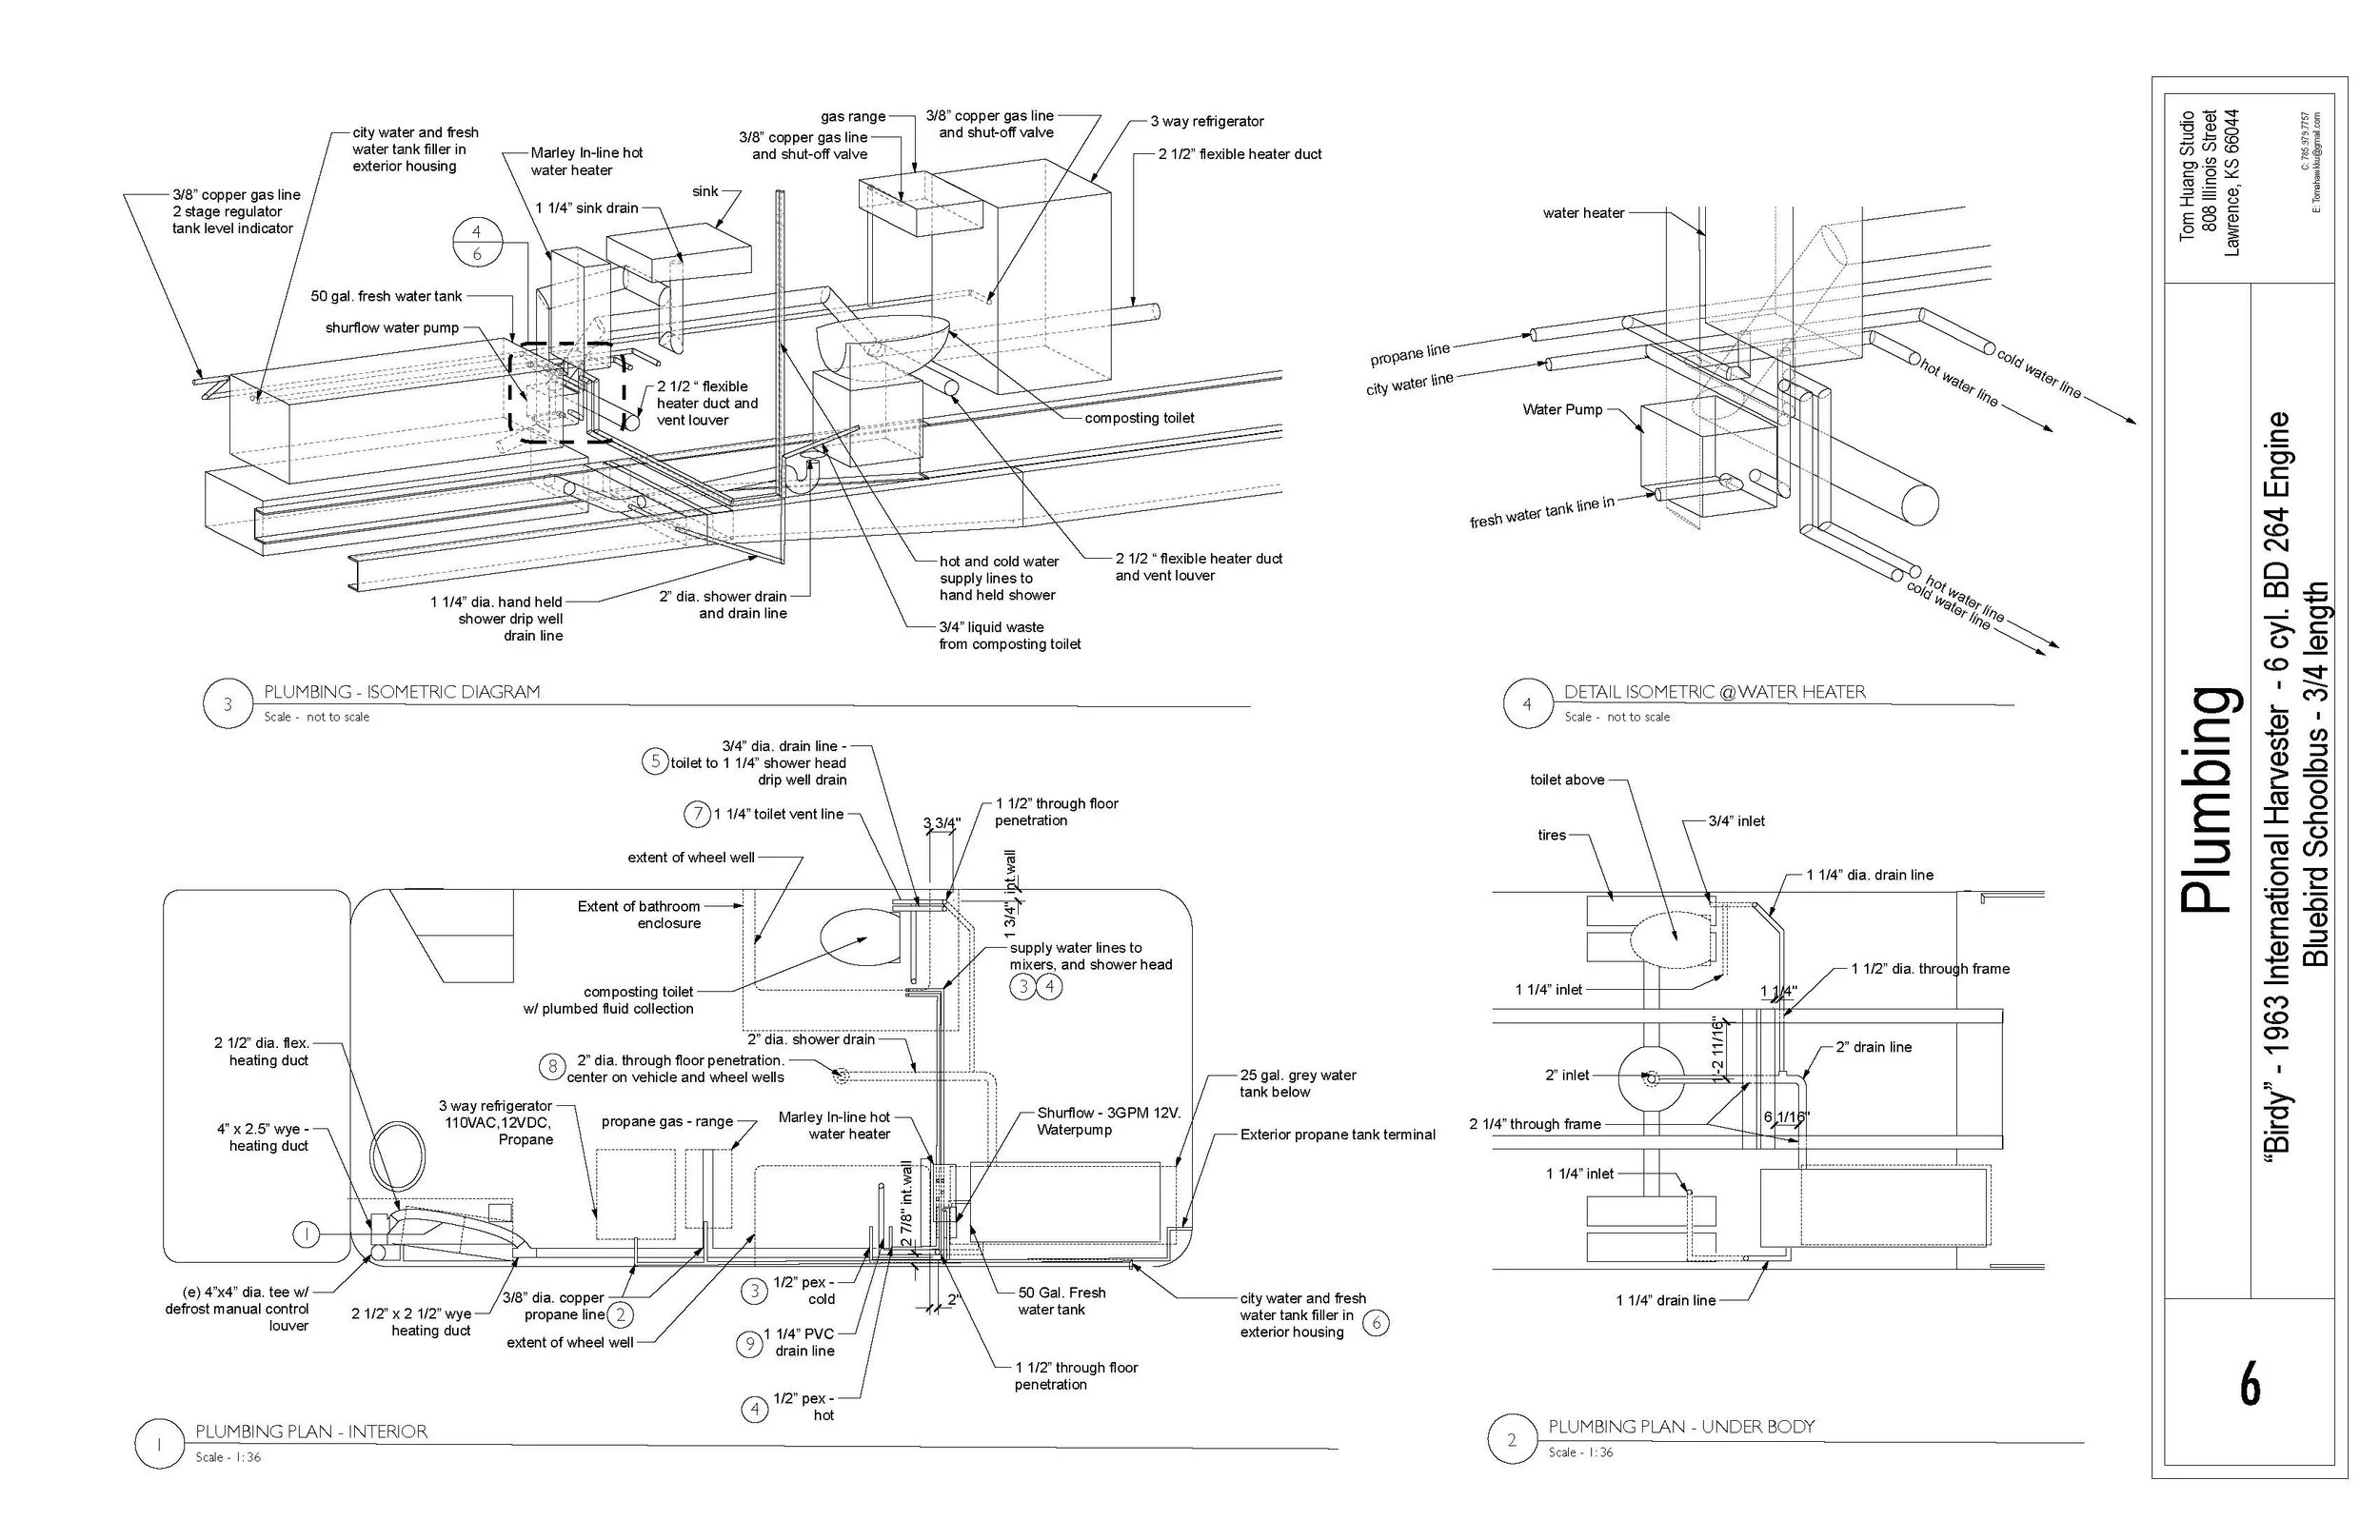
Removal from Stover Hatchery
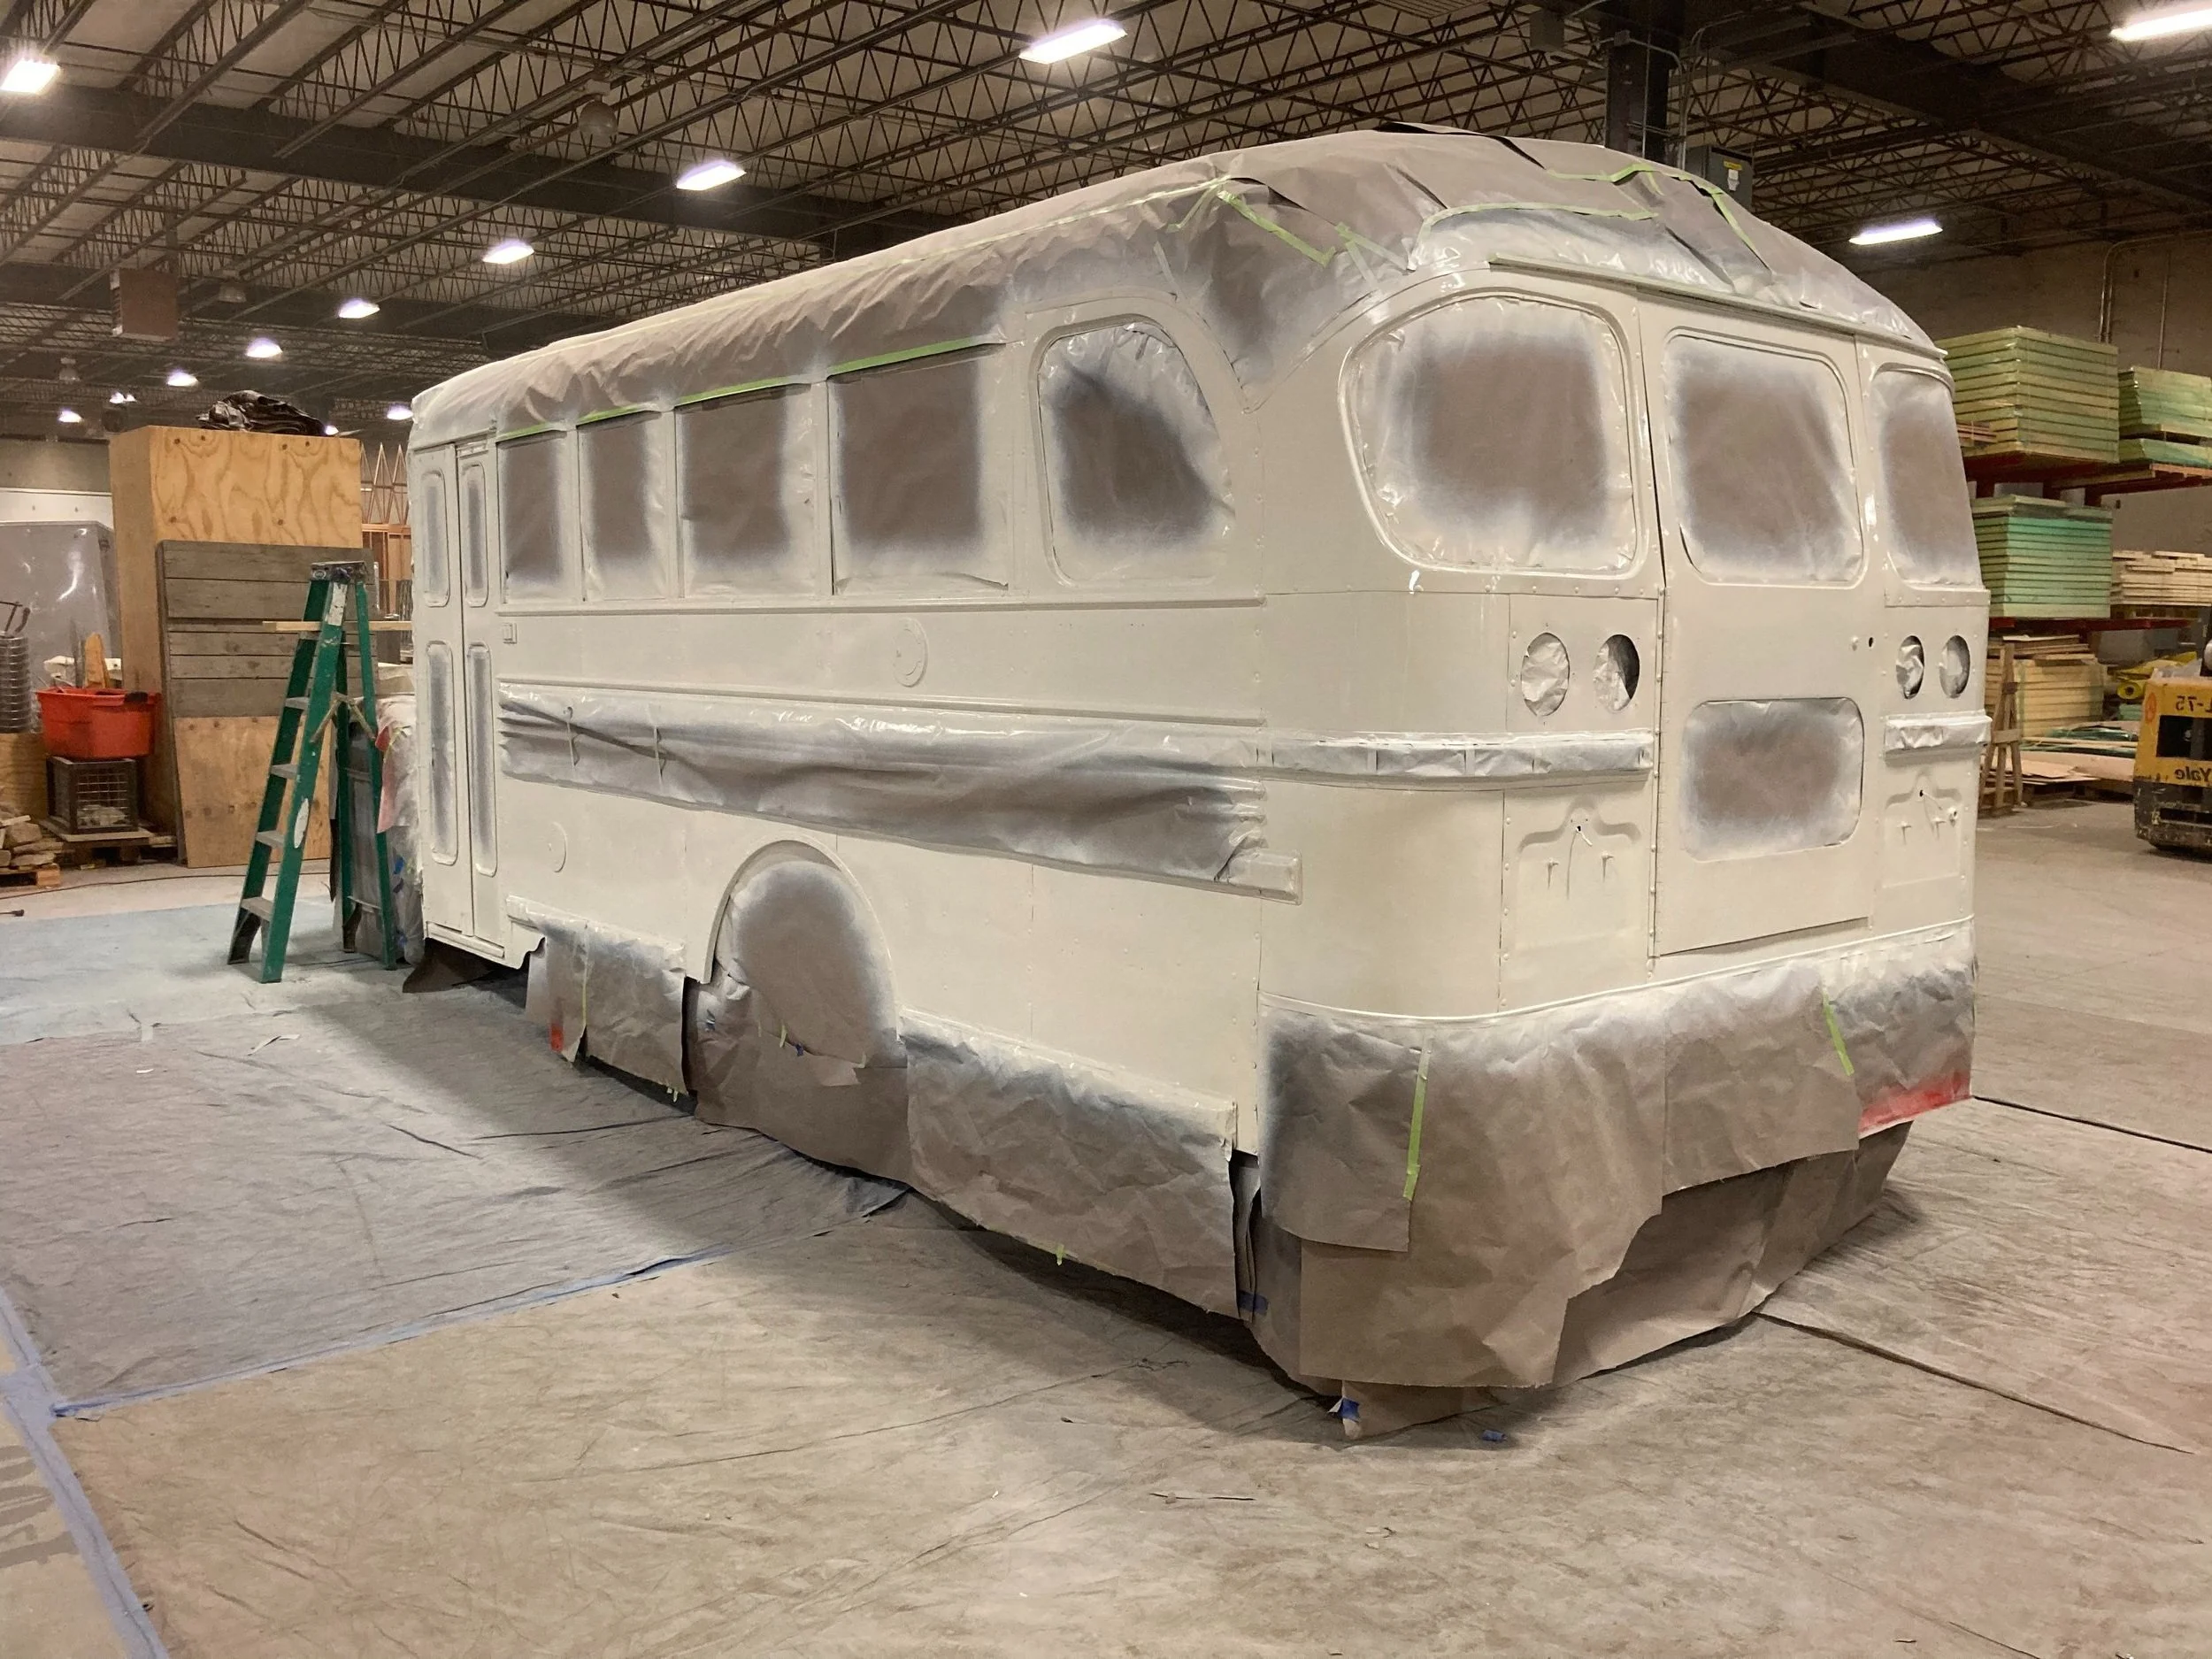
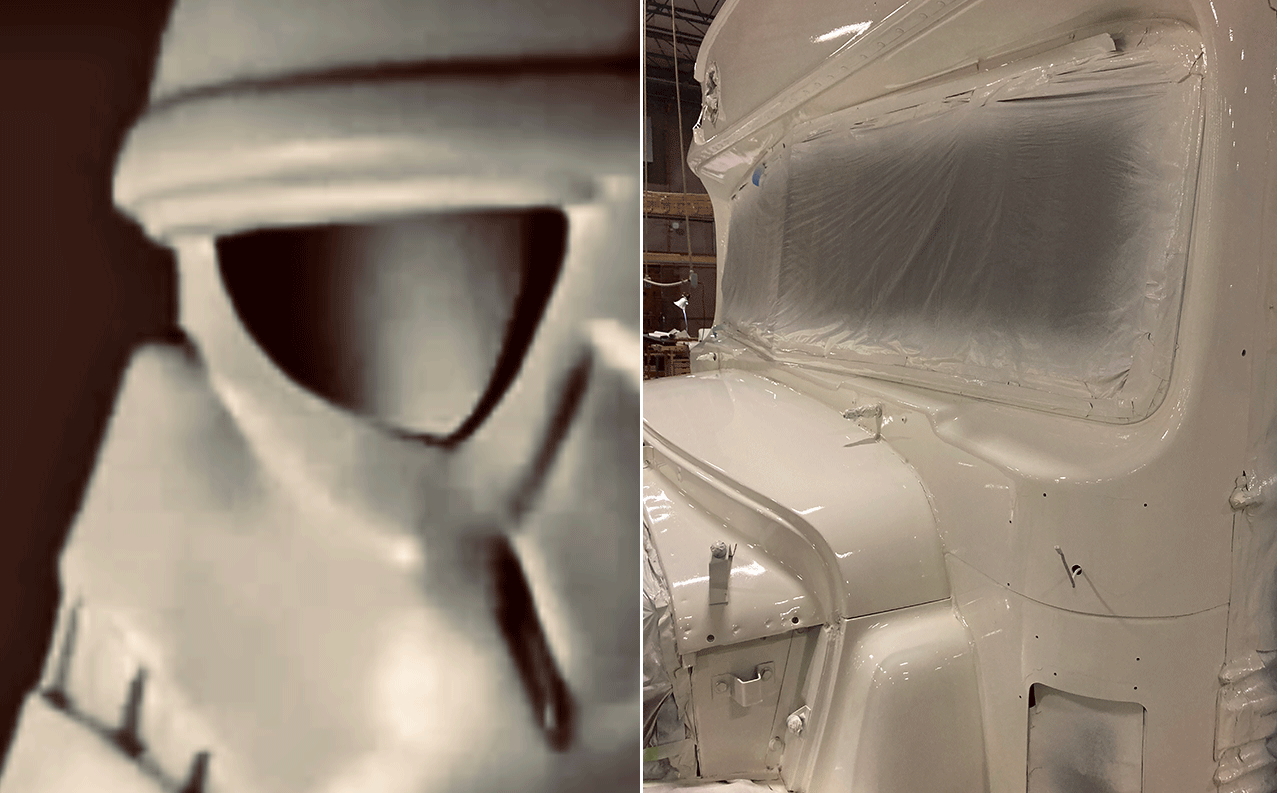
Experimenting with color schemes
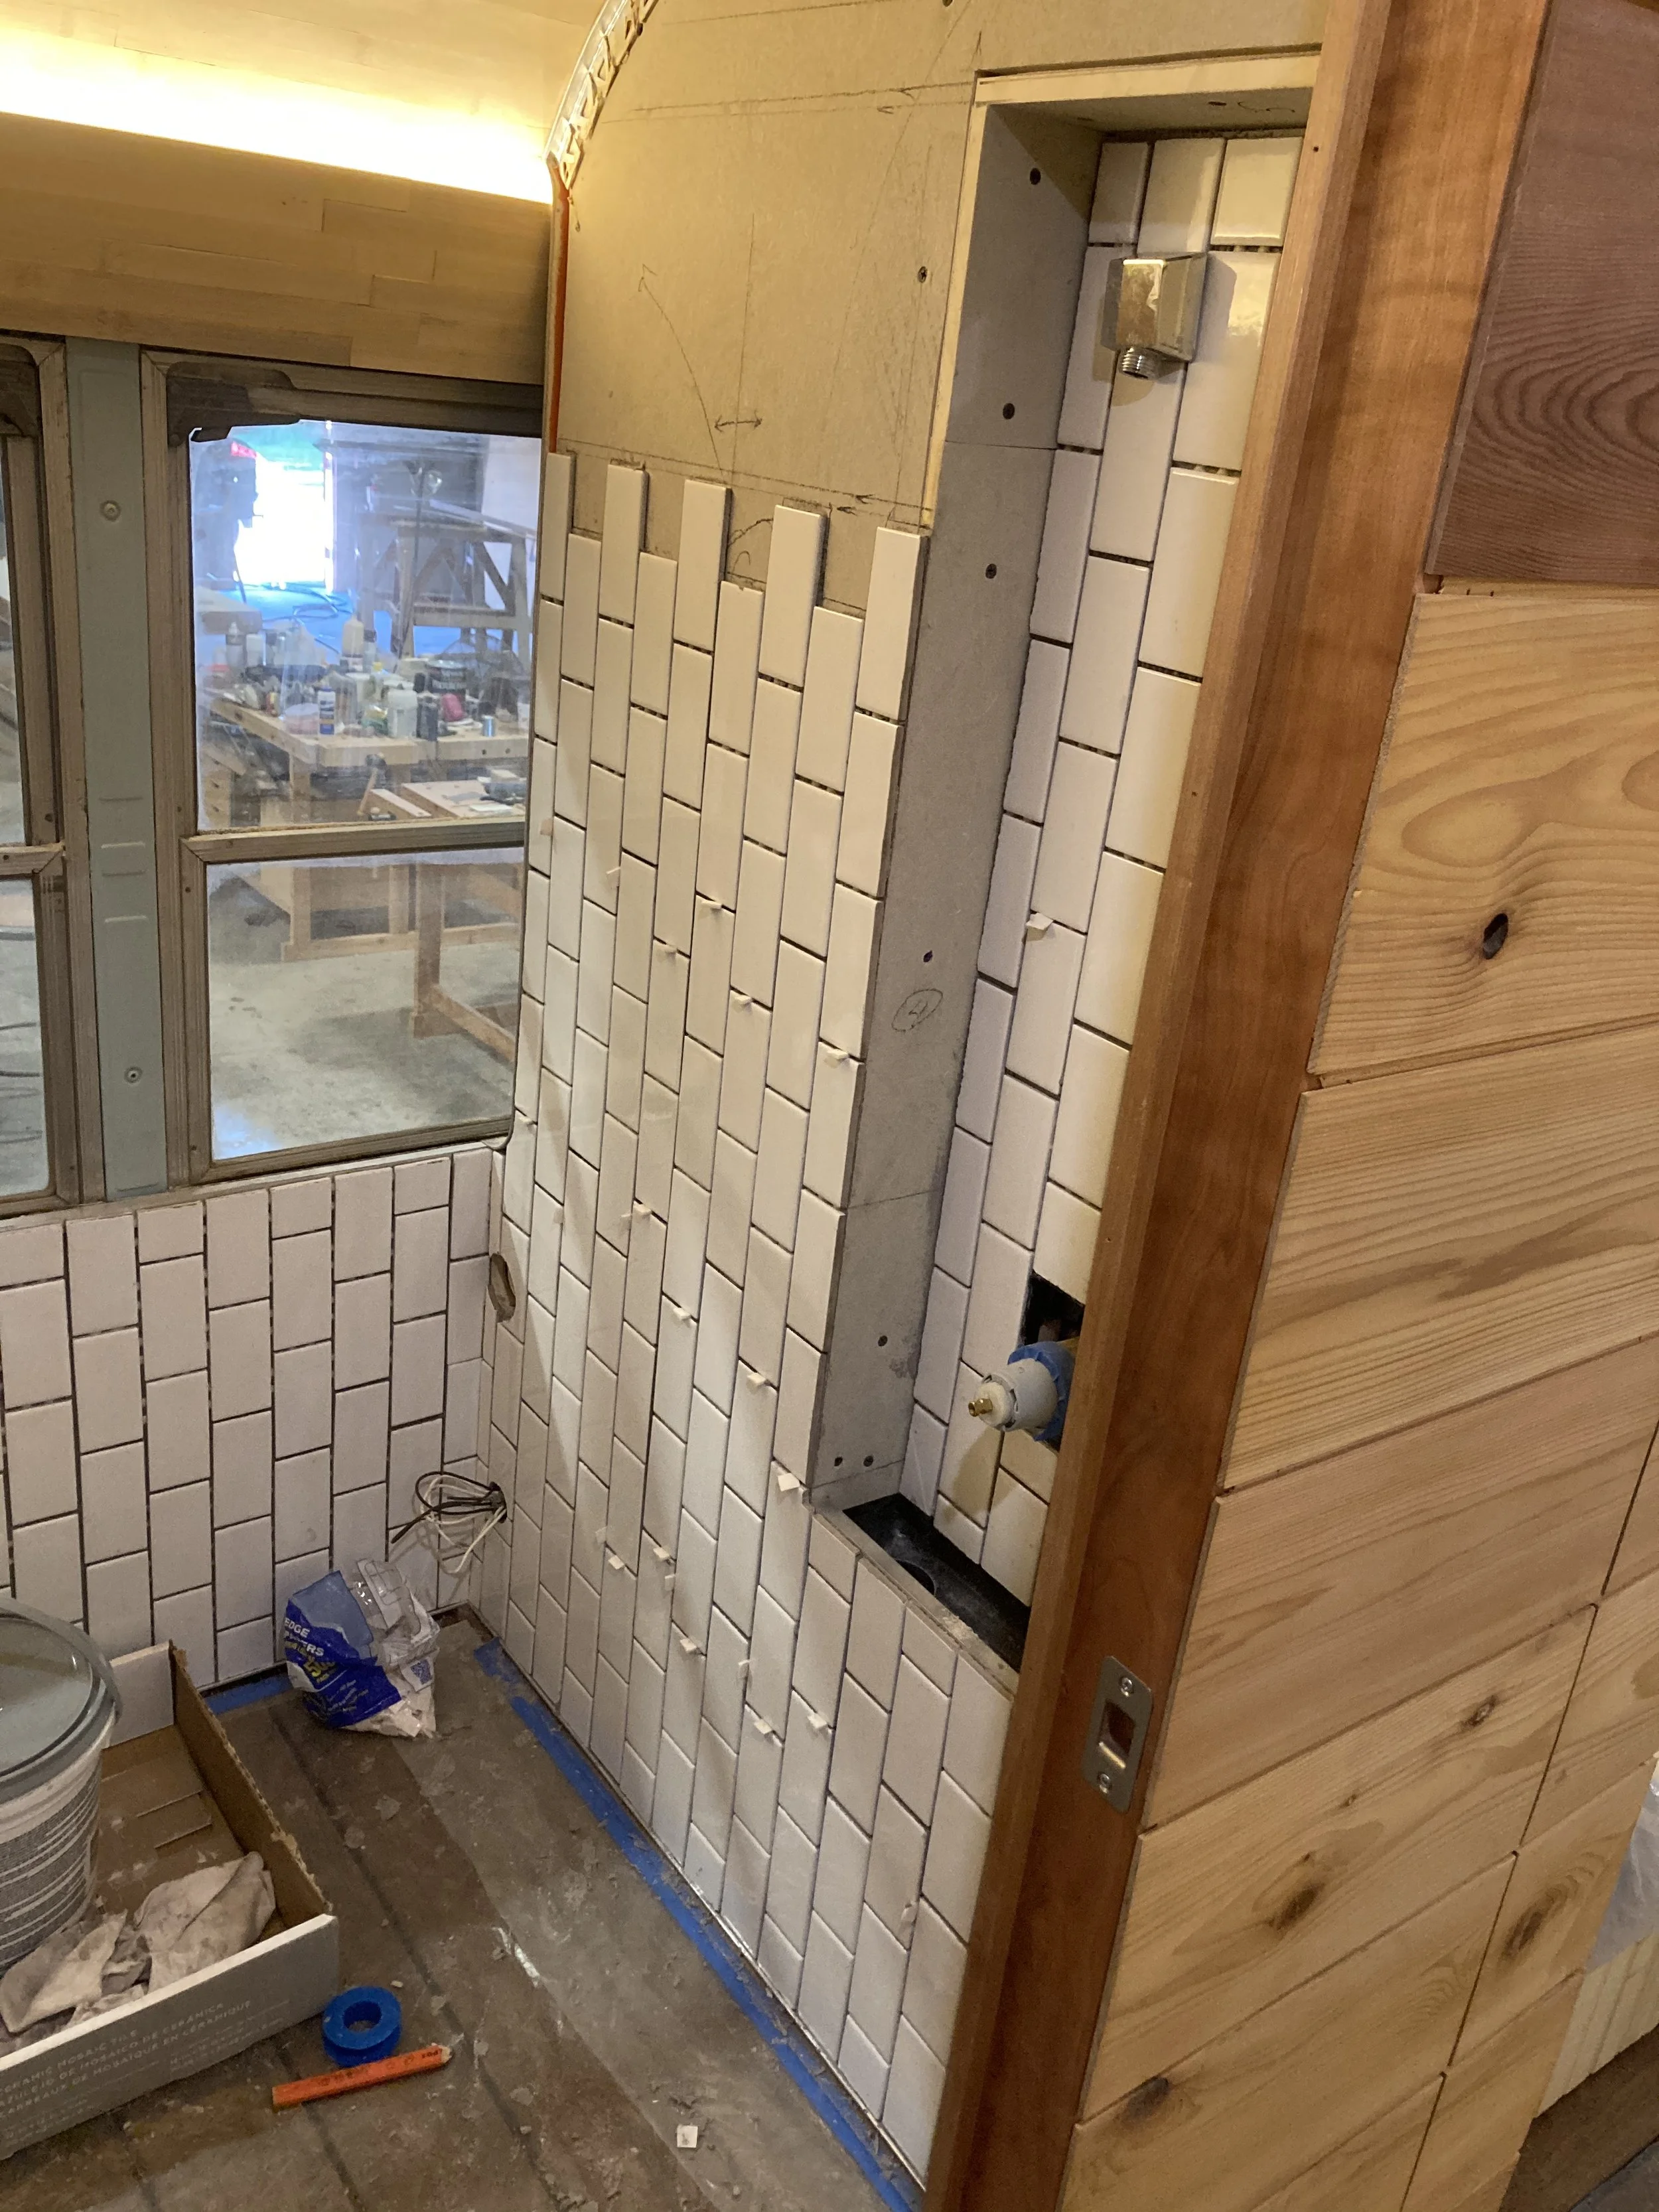
Big Reveal
Birdy’s Fanclub
If you’ve made it this far…You’re a committed fan! Enjoy!
〰️
〰️
Conversion Log - an Unedited Journal of Birdy’s Mechanical Restoration - 4 Mo. 9 Days
3/10/18 Vacuumed interior, Got power washer (need 100’ hose), Pulled flooring and chair. Established that the crank shaft nut is 1.5” hex. need to borrow 1.5” socket and breaker bar.
3/11/18 Removed seat, removed some flooring. Looks like will need to remove some dashboard sheet metal to get to remaining flooring, and floor panel that accesses transmission. Power washed underside and engine compartment.
3/12/18 Removed carburetor, removed fuel intake and all throttle cables/bar . Will need carburetor cleaner, and open table top to rebuild Holley 1904 carburetor - assumption. Removed 4 main bolts - and lock washer. Upon carburetor removal, it is a Holley 2110 -FF Downloaded and printed service manual. Clutch housing needs 2 plates. one in front, one under in back.
1960 6 264 Black Diamond Holley 2110-FF 1812 212821-R91 2925
Carburetorshop.com rebuild kits:
3/13/18 Ordered Carburetor Kit. Ordered from www. Carbkit.com - 74.96 Still looking for a sump for the banjo style air filter.
3/15/18 Removed the gas tank, and fuel pump. Webster recommended POR -15 for restoring the fuel tank. It will also need to be sand blasted and refinished on the out-side. Fuel line needs to be checked for leaks. In taking the tank off, rear bracket needed to be removed. The electric wire that runs to the tank had a splice in it, it most likely makes sense to rewire the entire bus. Hose clamps and Hose section for the fuel tank will need to be replaced. also the front strap will need to be replaced. new straps for both the front and back probably makes the most sense.
Carburetor disassembly is going very well. Airhorn and components have been removed, main body is 90% disassembled.
3/18/18 Carburetor rebuild finished. - Feels like a big success. Intimidation of taking apart something that complex has subsided a bit. The service manual gives relatively thorough instructions. If this is in any way an indicator of the the other components on the bus, it seems like the hardest parts will be removing rusty and bolts, lifting heavy components, and the dirt and undercoating that seems like road tar on the underside.
3/19/18 Bought lexan from Regal Plastics in KC. Have successfully replaced the door panel that was badly broken. Removal of the rear center window and trim and attempt to replace was stalled because the existing gasket is hard and cracked. I’m going to order 50’ of trim gasket from McMaster Carr - It looks like a very close match to the old trim material. “Temporary replacement of the cracked rear windows seems necessary, as there is moisture getting into the bus.
3/20/18 Removed the Propeller shaft from the parking brake drum. 4 bolts - One of the 4 bolts is a full thread ford bolt v. the 3IH bolts with shoulders. Once removed, there was an exposed short bolt that could Dan Rockhill and I attempted to crank. No Luck! Darn! With the propeller shaft back in place, we put the vehicle in gear and tried to push the vehicle to turn the engine. Still no luck. It’s looking like a removal and overhaul of the engine is going to be needed. I’m thinking about the timing of such an endeavor, space needs, etc. My gut is to put it off till I have the luxury of having the full wood studio space to spread parts out (after the semester - it make sense seeing how much space the carburetor took to lay out parts which helped tremendously) Kristen agrees, Lance sees the logic as well, he suggested working on other components, brakes, clutch, etc. Going to see what Dan’s thoughts are on it tomorrow.
Also I jerry rigged a machine to rotate the tank. Need to get gaffing tape to tape openings shut. Cleaned the fuel intake tube and the float gauge for the tank. The brass float will have to be replaced… it is peppered with holes.
3/21/18 Ordered Float for the tank, Got samples of tank, and tubing or the tank from McMaster carr.
3/22/18 Started with front cab trim paneling, right side, removing trim over glove box, then the left side heater unit. which came apart in 4? pieces. this also included removing 2 heater hoses that connect to the water jacket (passenger side) and the water pump (passenger sider) . a radiator heat transfer, fan, and ducting that should be replaced and could potentially be extended. Removed the lower dog house panel, then the floor plate around the stick and parking brake. New sheet metal screws will be needed as they were badly rusted. Finally, removed the upper dog house panel. Also removed the butterfly hood.
3/23/18 Began the morning by draining the radiator and then the oil pan plug. Kerosene drained out.. bulk of it. Began removing the grill, - 6 bolts, 3 on each sider… although missing some. then the grill top bar 4 fasteners, 2 nut and bolt connexions, 2 - bolt to tapped bar…. this then exposed the radiator fasteners. 4 bolts two on each side. Disconnected 2 hoses between water pump and radiator, removal of the structural cross bar above the radiator made lifting the radiator possible. Removed the fan shroud, which was very difficult with the belts on. It would risk cutting any new belts that were installed on the engine before the shroud was in place. Also disconnected the horn. electrical lines were mounted.
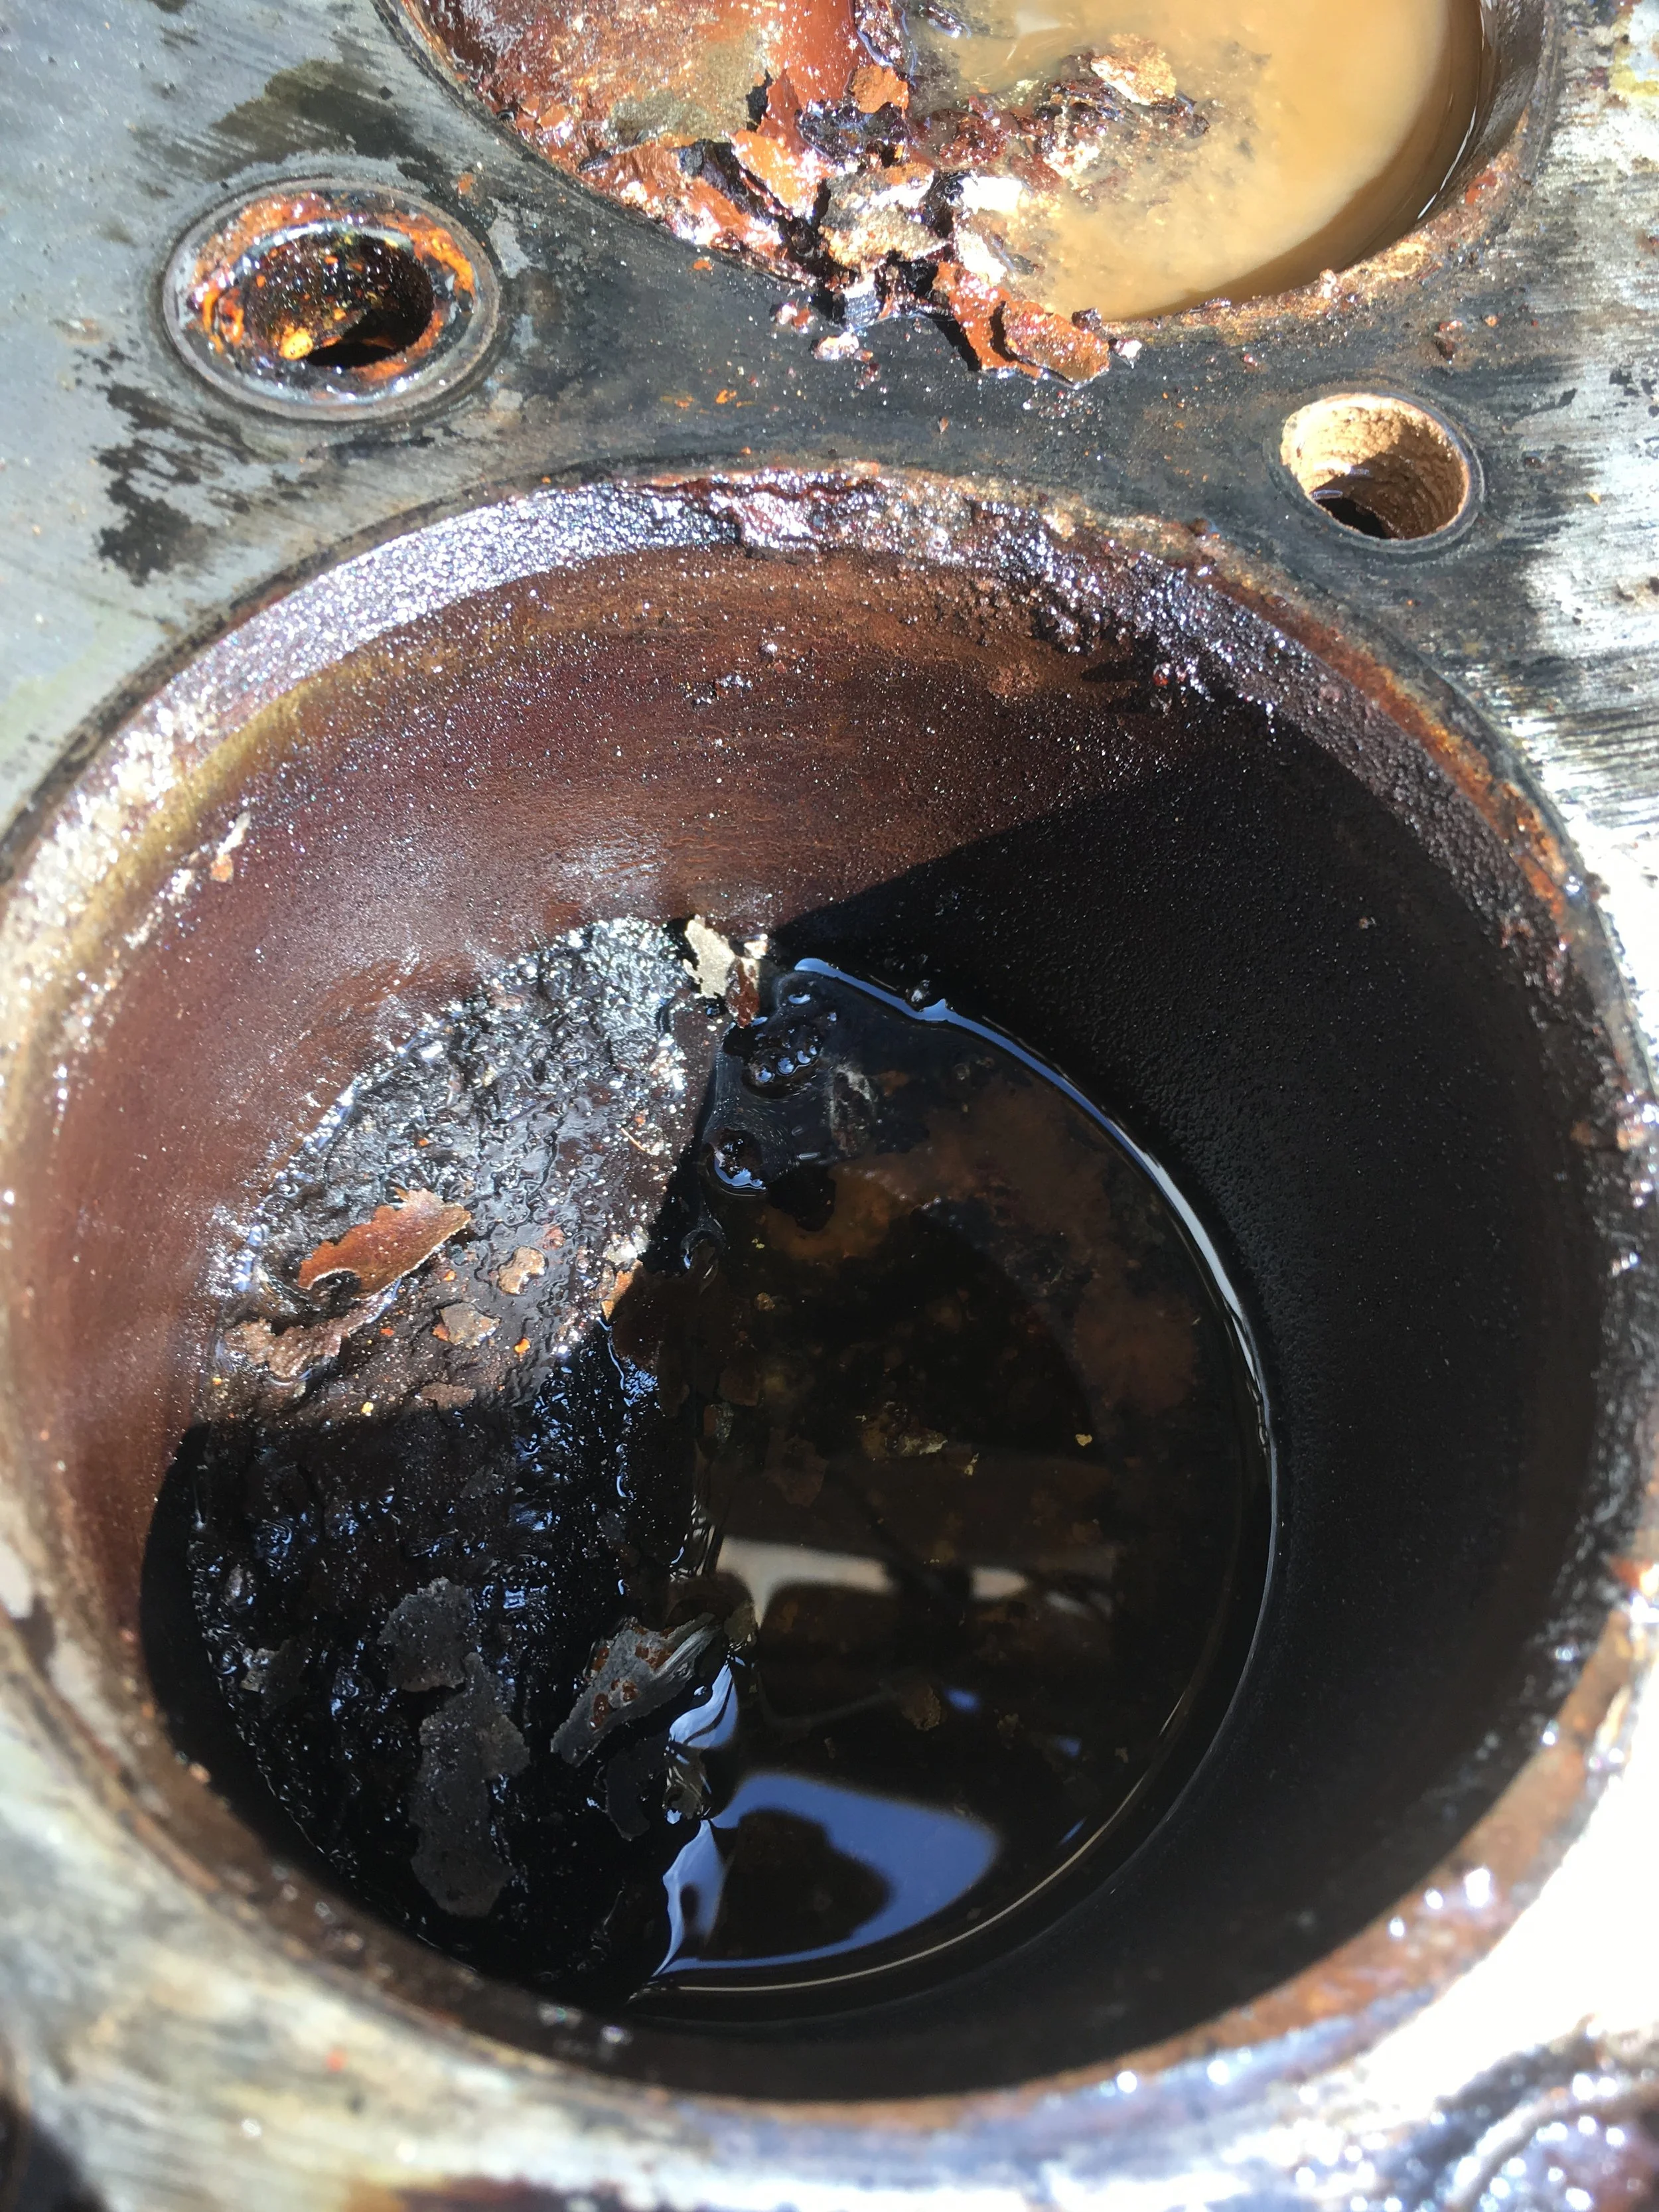
3/24/18 Removed the alternator, the oil filter, the coil, removed most of the bolts for the intake manifold. removed the valve cover, it showed that valves 1 and 2 had corrosion on the springs. bolts 1, 2 had stripped bolts as well. there might be a crack in the head…. bolt 4 has not been removed. also removed the vacuum tube from the intake below the carburetor that connects to the engine block. also removed the distributor and the part that looks like a pcv (pressure control valve) that is mounted directly below the distributor. bolt 2 needed a 13mm wrench because it was so stripped. I will try bolt 4 with a 14 mm wrench to see if i can get it to budge. All bolts were removed from the intake manifold connections to the exhaust manifold. the bolt closest to the (passenger seat) inside stair, snapped upon removal. it will have to be removed from the intake manifold and retapped. not good. we’ll see what tomorrow brings.
3/25/18 Removed the intake and exhaust manifolds…The last bolt was not easy…it was bolt 4…I was able to use a wedge made from 1” tubing to persuade a 13mm wrench onto the bolt head. Pain. but it is off. I also removed the valve rockers, they came off relatively easily. In removing the rods, I labeled them 1-12 beginning with the front ending at the back. Cylinders all showed minimum of surface rust. Cylinder 4 was the worst as expected. Not sure how I will manage to get the pistons un-seized. Lots of parts to remove. Need to read through the process of taking the engine apart.
3/26/18 Dan showed up with the engine lift today - I worked from 1- 4 pm… We got the engine out of the bus!!!! It now resides on a stand in the wood shop. Made some calls to source parts. Jansen’s in Minnesota seems like potentially most reliable. I am leaning toward doing most of the tear down, hoping to find someone willing to do the machining, and the reassembly of the engine. loading the main block, and the head. Perhaps Napa in topeka is the best source. Will call tomorrow if I have time. Classes start again tomorrow.
3/27/18 - 3/29/18 Drained the oil pan, got a look at the crank shaft, and the oil pump. It all looks good. Will need to decide which direction to go, how much to take apart and how much I’d like to try to reassemble. Removed the water pump and what i believe to be the engine temperature sender. Also, located a clutch that will work. FortWayne clutch. - 295.00 +shipping
3/30/18 Took engine into Topeka Napa store. Impressive what they have for facilities, and I’m hopeful that they will be able to do the work with professionalism. Discussed removal of threads in intake manifold, and to check the threads in all of the exhaust mounts. Pointed out the bad intake valve, the miscounted sleeve in the rocker arm mount, They think it will be two weeks before they get it apart, cleaned and assessed. 300. 00 to clean. 80.00 /hr to take it apart , bore and rebuild. not sure how much parts will require, or how much to source.
4/2/18 Ordered operator manual from binder books 25.00 , and also found a used parts manual for 50.00 with both purchased I should be able to speed up parts locating.
4/3/18 Removed the clutch slave cylinder after class. attempt to removed the piston from the cylinder, but not possible. Seems that I will have to purchase a new slave cylinder. Located one on-line. it costs about 20.00.
4/4/18 Removed the Clutch Master cylinder and clutch line. Also, removed all interior grab bars, top tread trim so that I could get the remaining floor mat out to keep more rust from forming on the deck. Lastly, I removed the left rear curved window and built a mold to curve the lexan
4/8/18 Took the mold and lexan up to Jim Rood - in engineering. Made use of his oven. Unfortunately, he insisted upon using a plastic releasing sheet that telegraphed wrinkles onto the lexan window. Sadly, I will have to live with it for now. If it becomes enough of a nagging eyesore, I will replace it at a later time.
4/9/18 They have taken and cleaned most of the engine apart at this point. I went in to see them, and I believe we are at 500.00 for the work thus far. A detailed conversation with them has led to some disappointing results. New pistons and parts and gaskets seem to total to almost 1500.00 (not really a viable solution with the added machine costs..)
Need to find another alternative.
Track 1. new engine swap…but what kind!! and what about the transmission? how will the differential deal with it? does a diesel make more sense?
Track 2. a complete unit that is hail damaged may yield all mechanical and bottom half that would be new and run longer., farther, more efficiently? after a long evening of searching on line, it looks like a 95-99 Dodge Ram has an option that sports a 6BT 12 valve Cummins Diesel that has a mechanical fuel pump - also has a manual option, also has a 155” wheel base…just 4” longer than the wheel base of the 1603.
4/10/18 Spoke to Errol - 1-403-328-0809 @ oldknternationaltrucks.com email. — errol@southland.it.com… He suggested viable engine swaps - BD240, BG241, BD264, BG265. All inline 6’s that are viable swaps. He suggested that I join CLASSIC IHC groups on Facebook and make an inquiry about an old engine. You never know. Also Spoke with Johnson Speed 1800-248-0480 - in michigan. He has some old parts. He’s going to check for me. Will get back tomorrow. Also spoke with Tom Underwood - of Parts of the Past. 785.749-5231 He has parts that are affordable… this might actually happen. Also ,spoke with Johnson Speed shop 1-800-248-0480 in Michigan - He is looking for pistons as well.
Also, Joe Arneson who is the chair of the swap meet committee of the Lawrence Classic Car Club, probably has a few connections. I should probably ask him a few questions.
4/11/18 Looks like Johnson has std. pistons. 500$ for all 6. and would sell rings for all 6 for $50.
Meanwhile long conversations with Thomas Underwood from parts of the Past — he has main and rod bearings. Sounds like he has valves as well, but needs me to verify the part numbers needed for the valves and the springs. and caps? and cam bearings, and pin bushings as well. AND he has really reasonable prices. He is from Wisconsin…studied at Madison, and has really shown me that the restoration community is a tight knit, and really a very friendly. Mr. Underwood’s son studied with Dan, and has quite the respect for him.
Jensales has head gaskets, cam bearings, and pin bushings.
Also, Kristen joined the Classic IHC Facebook page, and has turned up a BG241 wants 250 for the whole thing. transmission included…, and also, on dead wrench, I spoke with Ken 1-620-904-7096 who has a BD264 that has compression (140) on 5 cylinders, and one that has (90. ) - Dan and tim said the same thing. probably a bad valve, would be fairly straight forward to diagnose, but still, would still be an engine that is well worn out. He wanted 450 for it…and supposedly it is sold.
4/13/18
Tom Underwood suggested:
Gaskets: Olson’s Gaskets - Shiela - 360 . 871.1207
head - 97.50
bottom -
kens’ bd240 - compression - ? Wants 400.00
4/16/18 Located final engine parts. Looks like it totals around 760.00 Labor I’m guessing will be 2800.00 Yikes
Also - Looked at Zach’s BG241 - I don’t think it’s what we want to do … Need to call him.
4.17.18 Bought 385.00 worth of parts for the BD264 - all from Parts of the past. I think we are moving in that direction. Wow…SO EXPENSIVE
I also took the front left wheel off..Also removed the bearings, and the drum, and the brake shoes. There seems to be quite a bit of shoes left. I’m not sure if I’ll have the drums turned…probably not. but I will have to rebuild the wheel cylinders. Included in the purchase from Tom Underwood is a vintage parts manual. Now I can actually have the original numbers for the parts to help my search. This will all help.. I need to tackle all the wheel cylinders, and the brake booster and booster vacuum. Then it should just be the radiator and the fuel lines….We shall see.
4.23.18 Removed two left wheel cylinders Part # Fe-3067 - Parts have been ordered Also Installed the mirrors that Kristen acquired on facebook! Looking good!
4.24.18 Purchased the gaskets sets from Willy @ Don’s Diesel - up by the Lawrence airport. 130.00 shipping. Willy also pointed me in the direction of B&D radiator - Brent is the owner.
4.25.18 Dropped off Radiator at B&D Radiator - radiator looks good - EST. $65.00 - Heating core…not so sure.
Also dropped off all the engine parts at NAPA. They also pointed me in the direction of FluCon - They were able to remake the clutch hose. 38.74 for the hose. A bit steep. but instant results. I think I will have to remove all the brake hoses from the system to bring them in…It’ll be quicker.. but maybe expensive. Lastly, the clutch master cylinder arrived….after seeing how these components work, i’m convinced that a good cleaning and honing of the original parts would have been just as effective. However, it is challenging to remove the old pistons that are seized in the cylinders… and re-honing has it’s risk I suppose…it might leak…or it might be just fine.
4.26.18 Dropped off the Fuel Tank at B&D Radiator - Brent will be cleaning and lining the fuel tank for about 280.00 Also, drums can be turned at Don’s automotive for 9.25 per inch. With 2.5” on the front drums, and 4” on the rear drums. thats 12.5” of material to be removed. Total cost of drums will be in the neighborhood of 120.00
I also took time to clean the oil filter and removed the element inside. Part number is 214 731 R91.
4.30.18 Brake master cylinder arrived. Yesterday Kristen and I removed a lot of wiring harnesses, and cleaned many of the hoses that were left for the brake vacuum system. Not too much left in the engine bay. Prepping it to paint it. Today, I spent 4 hours and spent $60 on a half inch socket, a breaker bar, and an 8” extension to remove the lugs on the rear wheel assemblies. After much toil and eventually a torch on the nuts, I was able to get the rear lugs off. The right outside tire has come off easily, I will have to wrestle a bit more with the inner tires. Dan made a strong recommendation to get legitimate jack stands…and even have a standby system in place when I’m under the bus. Makes perfect sense.
5.1.18 - 5.4.18 Removal of rear wheels has been a challenge. Mostly, the lugs have what are called buds. Basically a threaded shaft that threads onto an inner lug. Specialty tooling acquired at Napa. Now I can change remove the tires at any time.
5.5.18 Removed rear wheel axel shafts. Cole and Maya helped a lot today. Maya cleaned bolts and nuts for the front and rear wheels, she also cleaned bolts for various other various parts as well. Cole cleaned the underbody of the bus. he successfully cleaned 2 bays down the rear mid section
5.7.18 Rear wheel drums have been removed. The brake pads look like they are in great shape still…lots of pad left. star adjusters are seized up though…
5.8.18 Removed the rear cylinders, and have ordered them. Need to get the Hydrovac unit off. It is looking like i’ll have to cut the vacuum tube that connects the reserve vacuum tank to the hydrovac. it has what I believe is called a double flare. Need to look that up
5.9.18 Removed the hydrovac unit and have brushed a large amount of the rust from it. Would like to save the unit…but not sure what is happening inside.
5.10.18 Took apart the hydrovac unit. for the most part, most of the casting is in good shape. not sure if the remanufacture kit contains new diaphragms for everything. I did have to brake a part that is called the cylinder rod stop. it is in front of the seal that is in front of the rod bearing. not sure if the cylinders need to be re honed, but none of the hydraulic pistons were seized.
5.11.18 Called midwest clutch - they remanufacture clutches, but they are wholesale only. Fleetpride in Topeka on SW Topeka Blvd. is one of their distributors. will call to get pricing on the remanufacture of my core. Sounds promising. Also called, Kevin at D&W Clutch and Brake - 2601 sisson st. Baltimore, MD 21211 - Price of clutch - 163.93 plus shipping, both ways at about 30$ (20 Lbs) His phone # is 410.235.8829. Include the guide bearing and the throwout bearing if possible
5.14.18 Found rebuilding resources for the Hydrovac and the Clutch. Both in Missouri!
Hydrovac: Precision rebuilders - 212.26 +Shipping (30)
R&R -Attn: Julie -
Precision Rebuilders
350 North Commercial
St. Clair, MO 63077
Clutch: 96.88 - to rebuild - 30.00 Bearings if needed + Shipping (30)
Attn: Tom
Unique Automotive Clutch Rebuilders
693 West Booneslick Rd.
Jonesburg, MO. 63351
5.15.18 - 5.19.18 Prepped engine bay and repainted engine bay. This included power washing and removing items from the firewall. In detail, I removed and repainted the throttle control bar, the vacuum tubes mounted on the fire wall, and much of the electrical that was mounted in the engine bay. Aluminum foil and tape masked all parts that were not to be painted. Extensive sanding and a brazed patch of the engine bay wall on the driver side that had rusted also happened. I also brazed the bell housing pieces that were damaged when removing the engine. Once all this was finished, I began replacing parts in the engine bay. Both Master cylinders and pushrods have been connected to the brake pedal and clutch. Finally, I was able to remove the inner bearings on the rear wheel assemblies. Not an easy task, a pvc pipe of specific diameter was used in conjunction with a plywood disk that I fabricated to remove rear wheels to press out the bearing and seal using the axel mounting studs. It appear that I have slightly damaged the rear wheel inner grease seals… part #340927c91 Need to order these. Also, although not removed yet, I imagine that I need to remove the front wheel grease seals 25008hb, These need to be ordered as well. Lastly, I will have to purchase wheel bearing grease to repack the bearings. Based on the speed that the master cylinders went back in, I anticipate that reassembly of all the replacement parts will go very quickly. With the Hydrovac, and the clutch on their way back, all that is left to remove and fix are the steel lines that have badly rusted and all the rubber lines of the brake and fuel system. These will need to be double flared, and rebuilt. The final big hurdle will be the Vacuum line that connects the hydrovac to the reserve vacuum tank. I will need to find 5/8 ID line and will have to figure out how to bend it. I’ve started playing with the hossfeld bender that is out at east hills. I submitted a purchase order to Amy Hardman to by the die’s necessary to make 2.25” Centerline Radius turns on the tubing, and have already borrowed the flaring tools needed to do all the flares on 3/16”and 1/4” lines. Removal of the rusted “hard wired” lines and fittings is next week.
5.19.18-5.23.18 Removed and remade all brake lines and fittings
6.15.18-6.30.18 Painted the underbody with maya. Involved grinding with a wire wheel, rolling and brushing on bedliner. Long, hard dirty workdays.
7.2.18 - Installed all the break lines but struggled hard to get the brake booster bled. It involved pressurizing the line from the outlet port on the long tube on the end until fluid came out the inlet tube toward the middle before the canister. Then replacing the inlet tube that comes from the master cylinder, and hooking up the outlet and the auxiliary that comes from the secondary port on the master cylinder.
7.7.18 Picked up the engine from Topeka.
7.9.18 Re installed the clutch, the oil filter (new filter, old canister), old water pump, old fuel pump, old distributor with new condenser,/points/rotor, reinstalled the original alternator. Not sure if that was a good idea, but we shall see when it cranks. Volt regulator is looking pretty old and degraded.
7.19.18 Engine fires and cranks for the first time since 1979. 40 years. On my birthday!!
Tom Huang - Age 46


